Table of Contents
Windows 11 ISO Introduction:
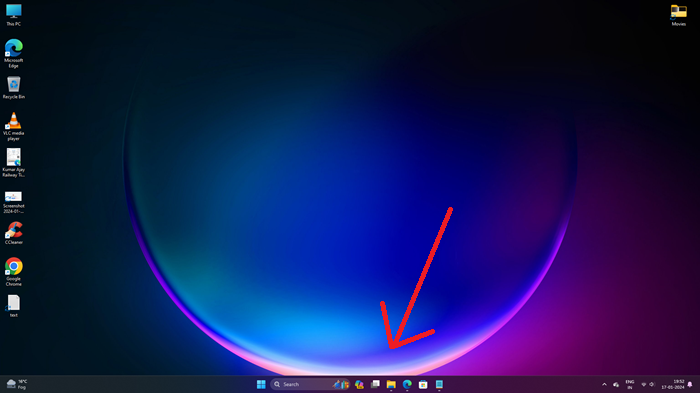
Windows 11 ISO is the latest operating system developed by Microsoft, the successor to Windows 10. It was officially announced in June 2021 and released later that year. Windows 11 comes with many new features and improvements compared to its predecessor, Which offers a redesigned user interface, enhanced performance and new productivity features. It aims to provide a more modern and streamlined experience for users across a variety of devices, including PCs, laptops, and tablets.
Key Feature
Redesigned Start menu and taskbar:- Windows 11 introduces a centered Start menu and taskbar for a cleaner and more attractive look.

Snap Layout and Snap Group – New window management features that allow users to easily organize and multitask.
Microsoft Store Redesign – The Microsoft Store has been redesigned to provide a better experience to users and developers.
Direct integration with Microsoft Teams – Windows 11 integrates Microsoft Teams directly into the taskbar, making communication more accessible.
Enhanced Gaming Experience – Improved gaming features including support for Direct Storage and Auto HDR.
Importance of Installing Windows 11 from ISO:
What is ISO file?
An ISO file is a disc image that contains the entire contents and structure of a storage medium such as a CD, DVD, or in this case, a USB drive. For Windows operating systems, including Windows 11, an ISO file is a common distribution format that allows users to create installation media.
Benefits of using ISO for installation:
Offline Installation – An ISO file allows users to perform an offline installation of Windows 11. This can be useful in scenarios where a stable internet connection is not readily available.
Creating bootable media – Using the ISO, users can create a bootable USB drive. This is important for installing or reinstalling the operating system on a computer, especially if it lacks an optical drive.
Optimization and Clean Installations – Installing Windows 11 from an ISO enables users to perform a clean installation, ensuring a fresh start without any potential system issues from the previous installation.
System repair and recovery – Apart from installation, the ISO file can be used for system repair and recovery. It provides a way to access advanced troubleshooting options and repair tools.
Flexibility and Convenience – Users can keep a copy of the Windows 11 ISO for future use, making it convenient to restore or repair it without the need to download the entire operating system again.
In summary, understanding the key features of Windows 11 and the importance of using ISO for installation provides users with the benefits of this installation method, which include flexibility, offline capabilities, and the ability to create bootable media for a variety of scenarios. Provides capacity.
How to Download Windows 11 ISO
- Go to the official Windows 11 download page on the Microsoft website.
- Find and click on the “Download now” button to get the “Media Creation Tool.”
- Run the tool and choose “Create installation media for another PC.”
- Select your language, edition, and architecture, then choose “ISO file.”
- Pick a location on your computer to save the Windows 11 ISO file and click “Save.”
- Wait for the download to finish.
Windows 11 ISO | A Step-by-Step Tutorial for Installation and Setup
Step 1: Verify System Requirements
Before starting the installation, make sure that your computer meets the minimum system requirements for Windows 11. This includes factors like processor compatibility, RAM, storage space, and other specifications.
Step 2: Back up your data
It is a good practice to backup your important data before installing a new operating system. This precautionary measure helps prevent data loss in case anything goes wrong during the installation process.
Step 3: Download Windows 11 ISO
Download Windows 11 ISO file from Microsoft website. You can find it in the Windows 11 Downloads section. Check the system and download the version that matches your system architecture (32 bit or 64 bit)
Step 4: Create a Bootable USB Drive
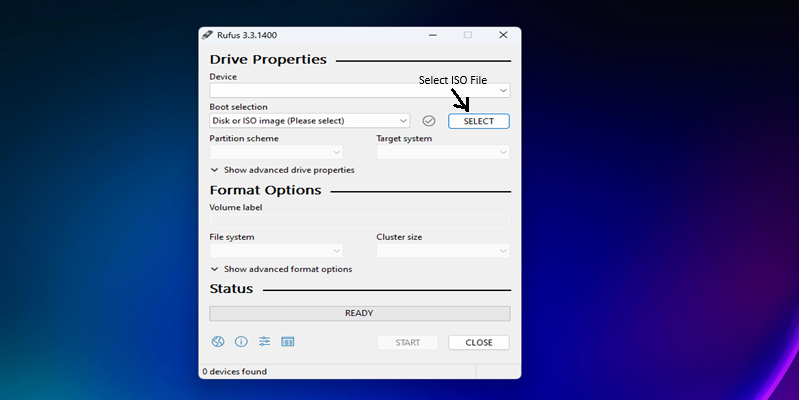
Use a tool like Rufus or Windows USB/DVD Download Tool to create a bootable USB drive from Windows 11 ISO. This USB drive will be used to install the operating system on your computer.

Step 5: Insert the Bootable USB Drive
Insert the bootable USB drive into a USB port on your computer.
Step 6: Turn on or restart your computer
Turn on your computer or restart it, and access the BIOS or UEFI settings. This is usually done by pressing a key (such as Esc, Del, F2, or F12) during the boot process. Set the USB drive as the primary boot device.
Step 7: Start Windows 11 installation
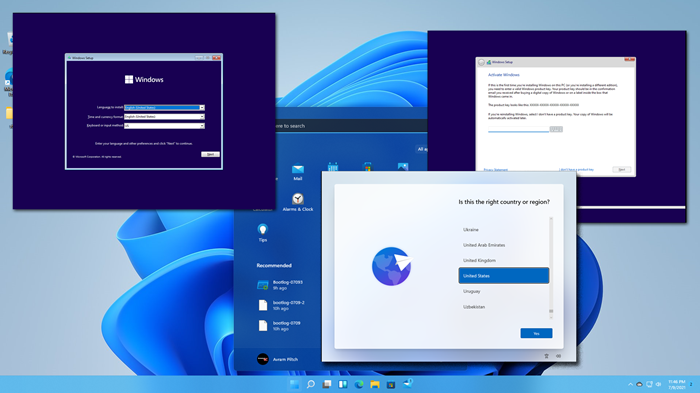
Once the computer boots from the USB drive, the Windows 11 installation process will begin. follow these steps:
Select language and region – Choose your preferred language, time format and keyboard input method.
Click “Install Now” – Start the installation process by clicking the “Install Now” button.
enter product key – Enter your Windows 11 product key when prompted. This is usually found on the packaging or in the confirmation email if you purchased Windows 11.
Accept the license terms – Read and accept the license terms and conditions.
Select installation type – Choose whether you want to upgrade or clean installation. For a clean installation, you may need to partition your hard drive.

Select partition and install –If performing a clean installation, select the partition where you want to install Windows 11. Click “Next” to begin the installation.
Wait for installation –Allow the installation process to run. This may take some time, and your computer may restart multiple times.
Step 8: Set up Windows 11
Personalization – Set your region, language preferences, and other personalization settings.
Sign in with a Microsoft account – Sign in with your Microsoft account or create a new account. Alternatively, you can choose to create a local account.
Configure settings – Customize privacy settings, choose whether to enable Cortana, and set other preferences.
Wait for setup – Allow Windows 11 to finalize the setup process.
Step 9: Complete Installation
Once setup is complete, you will be taken to the Windows 11 desktop, and the installation process will finish.
Step 10: Install Drivers and Updates
After installation, it is advisable that you install the necessary drivers for your hardware and check for Windows Update to ensure that your system is up to date.
Congratulations! You have successfully completed the Windows 11 installation process. Keep in mind that these steps provide a general overview, and specifications may vary slightly depending on your hardware and any changes Microsoft made to subsequent updates. Let the tutorial process run. This may take some time, and your computer may restart several times.


